**As I transition to www.TheBeginningFarmer.com I am quickly realizing I'm not as web savvy as I had hoped! In the meantime I will be posting here as well for those of you subscribed through RSS ... and hopefully will have that fixed soon.**
 In just over five years of farming I have now built four variations of a chicken wagon and each one improved on the failures of the ones that came before. Of course it didn't take much to improve on my first wagon which was built out of a great find from a machinery auction. On today's episode I wanted to take some time to talk about the design for this chicken wagon and why I decided to build it the way that I did. Below you will find a series of pictures showing my chicken wagon build at various stages along the way.
Here are some helpful links from today's show ...
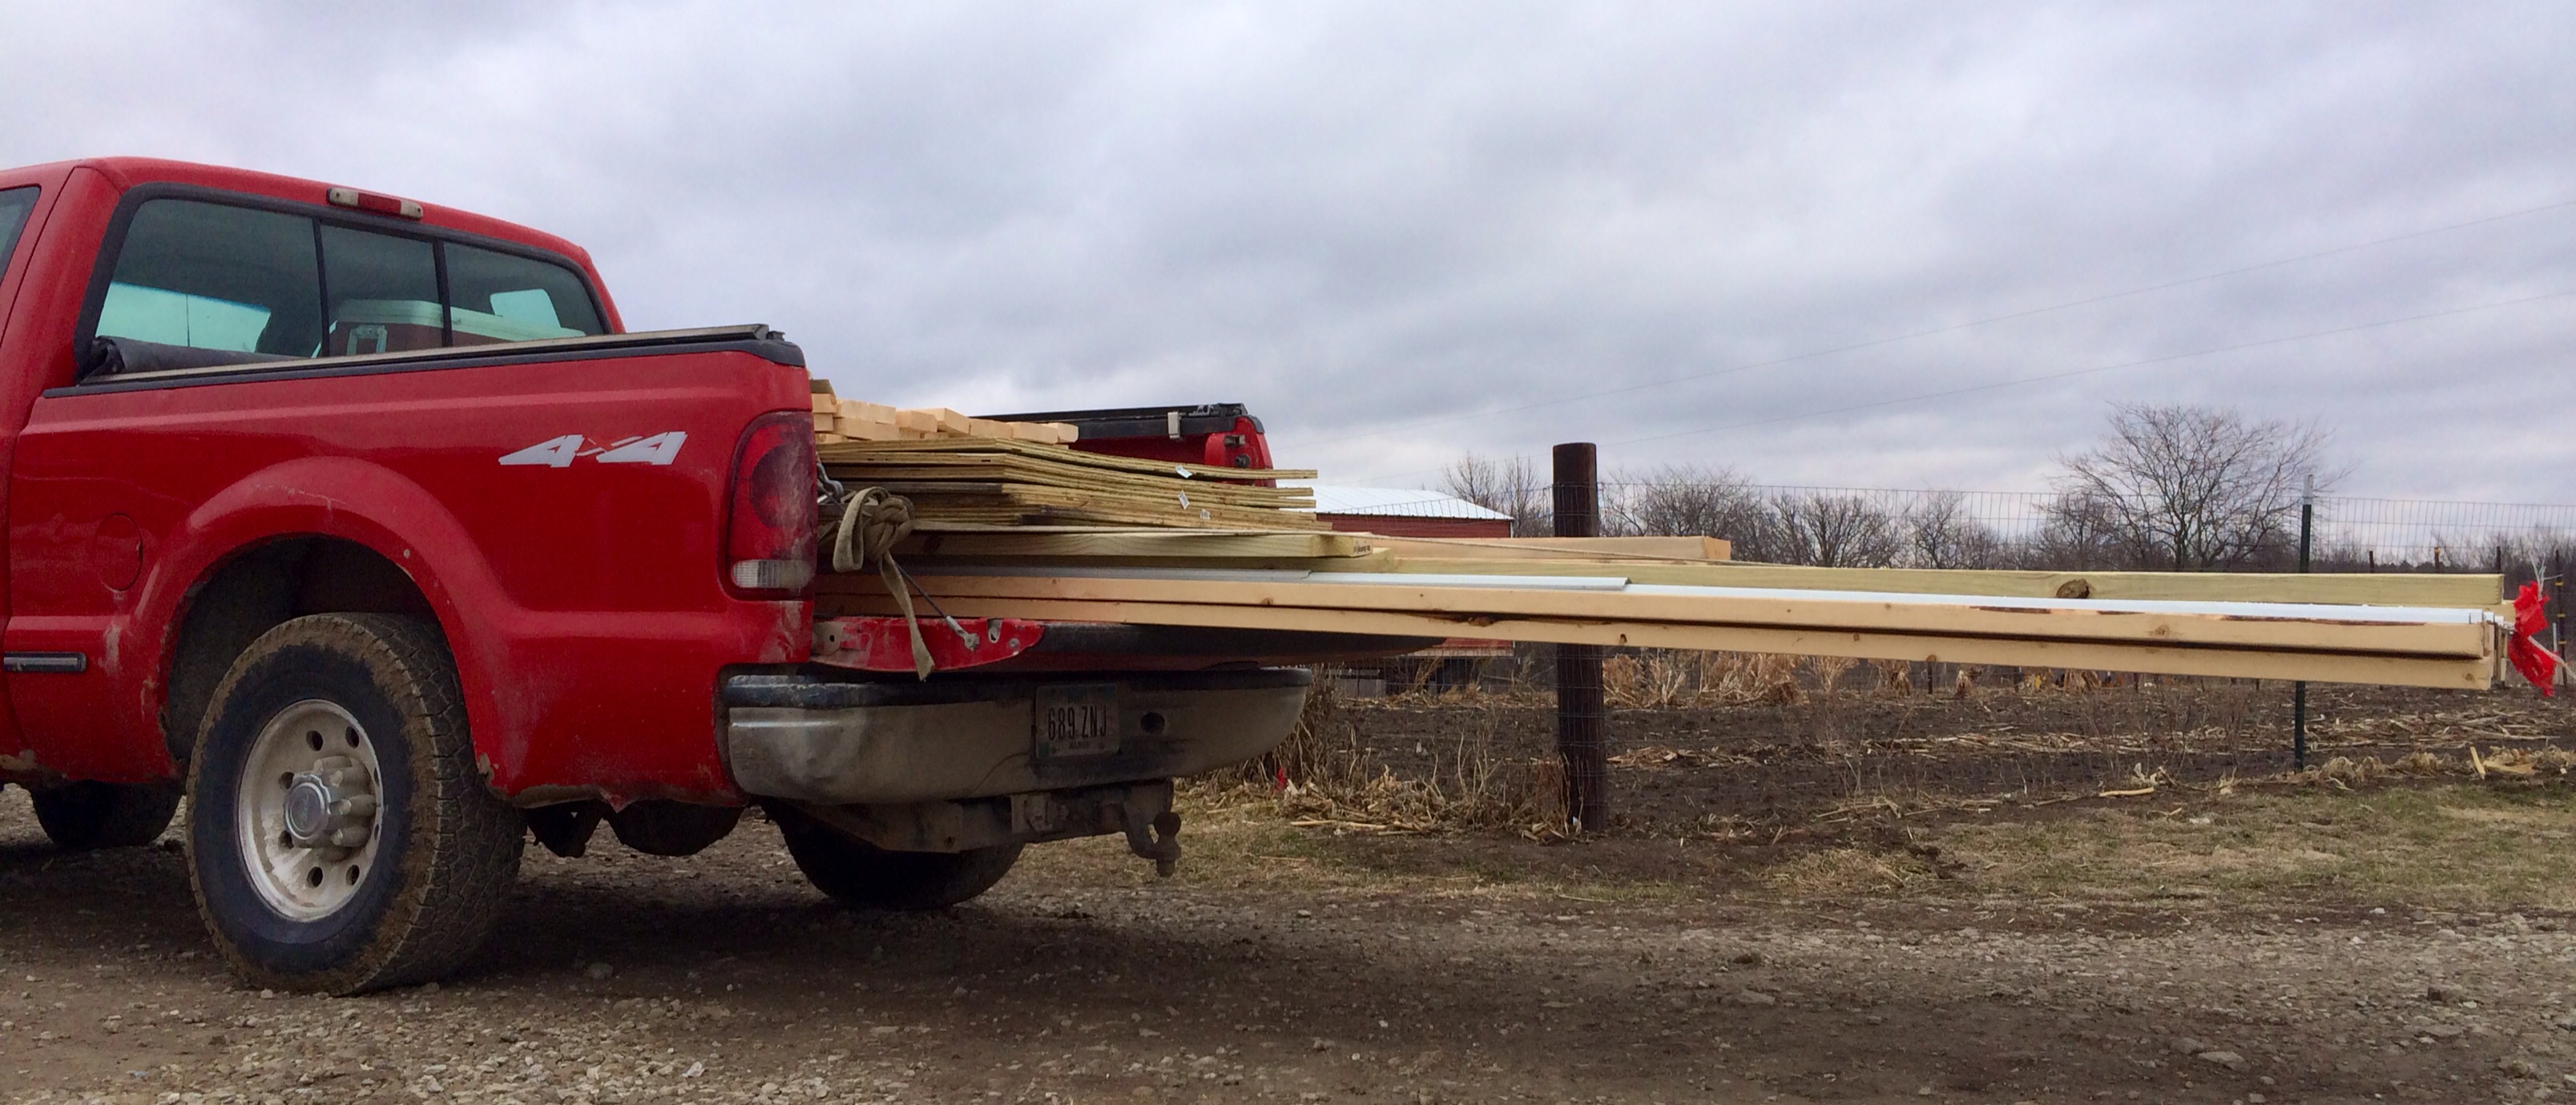
Here are all of the building supplies needed for building my 10x15 chicken wagon.
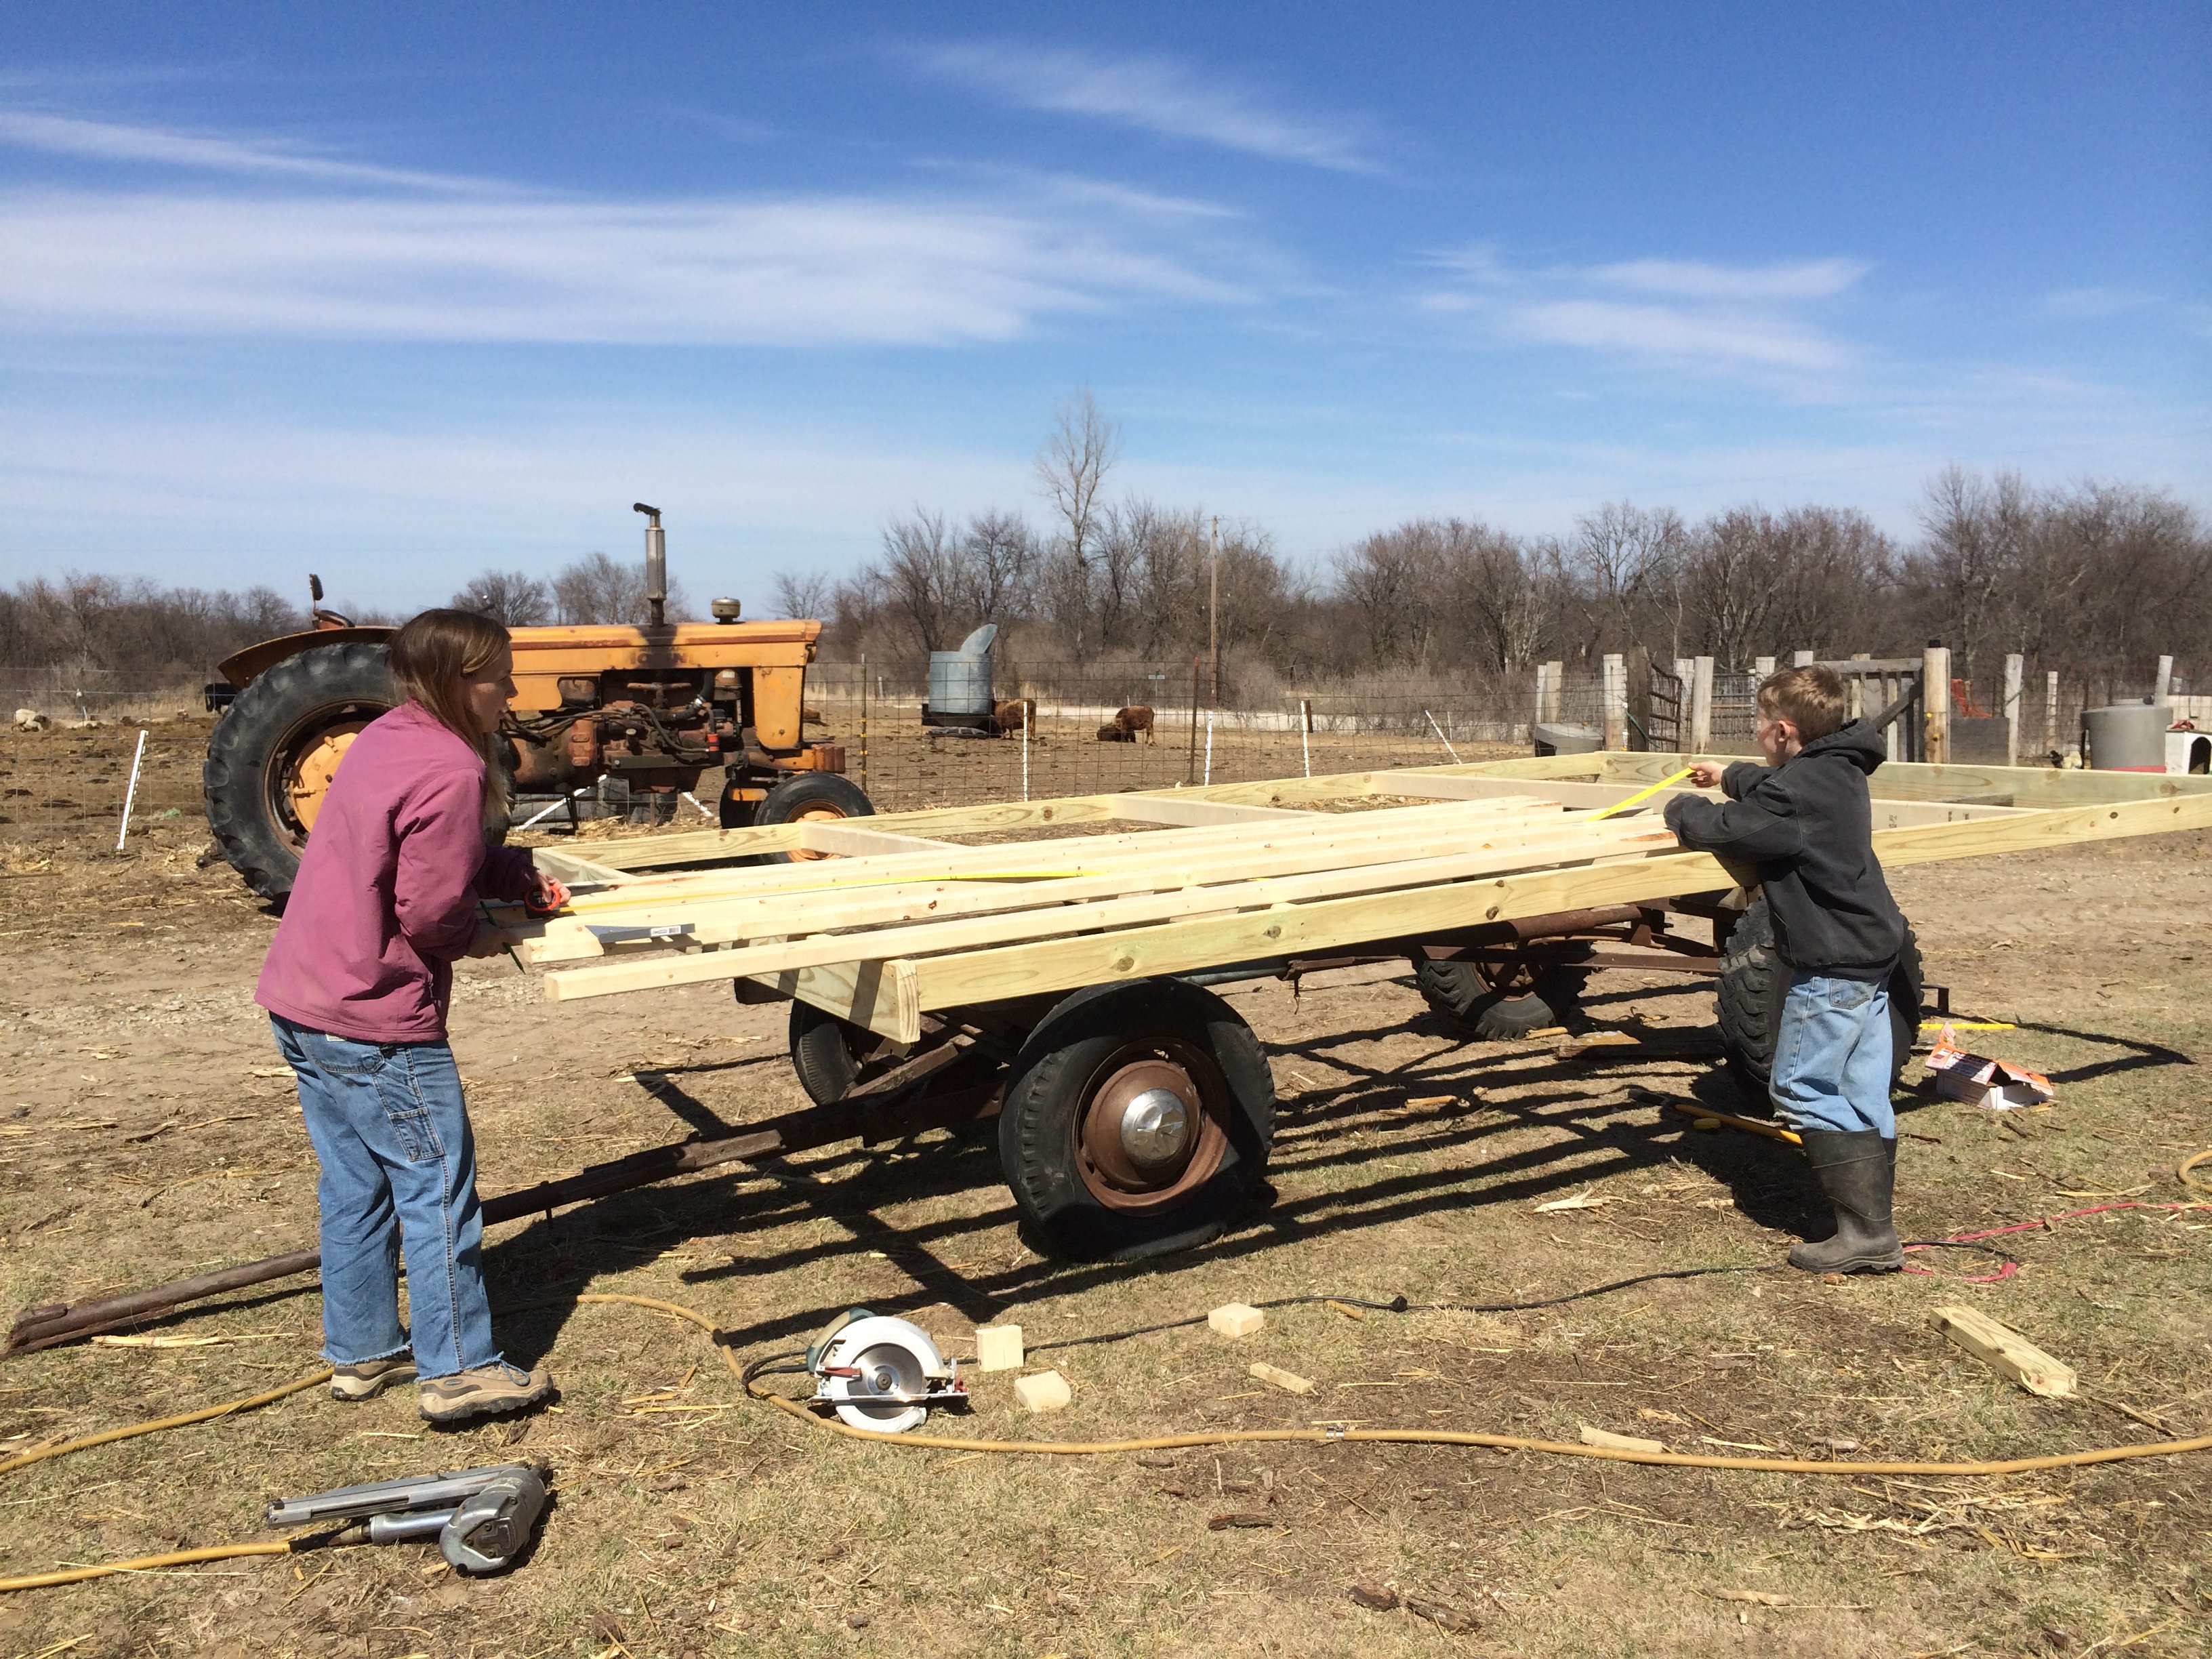
We laid out the floor with our 2x4 joists and then placed the 3/4" treated plywood on for the floor.
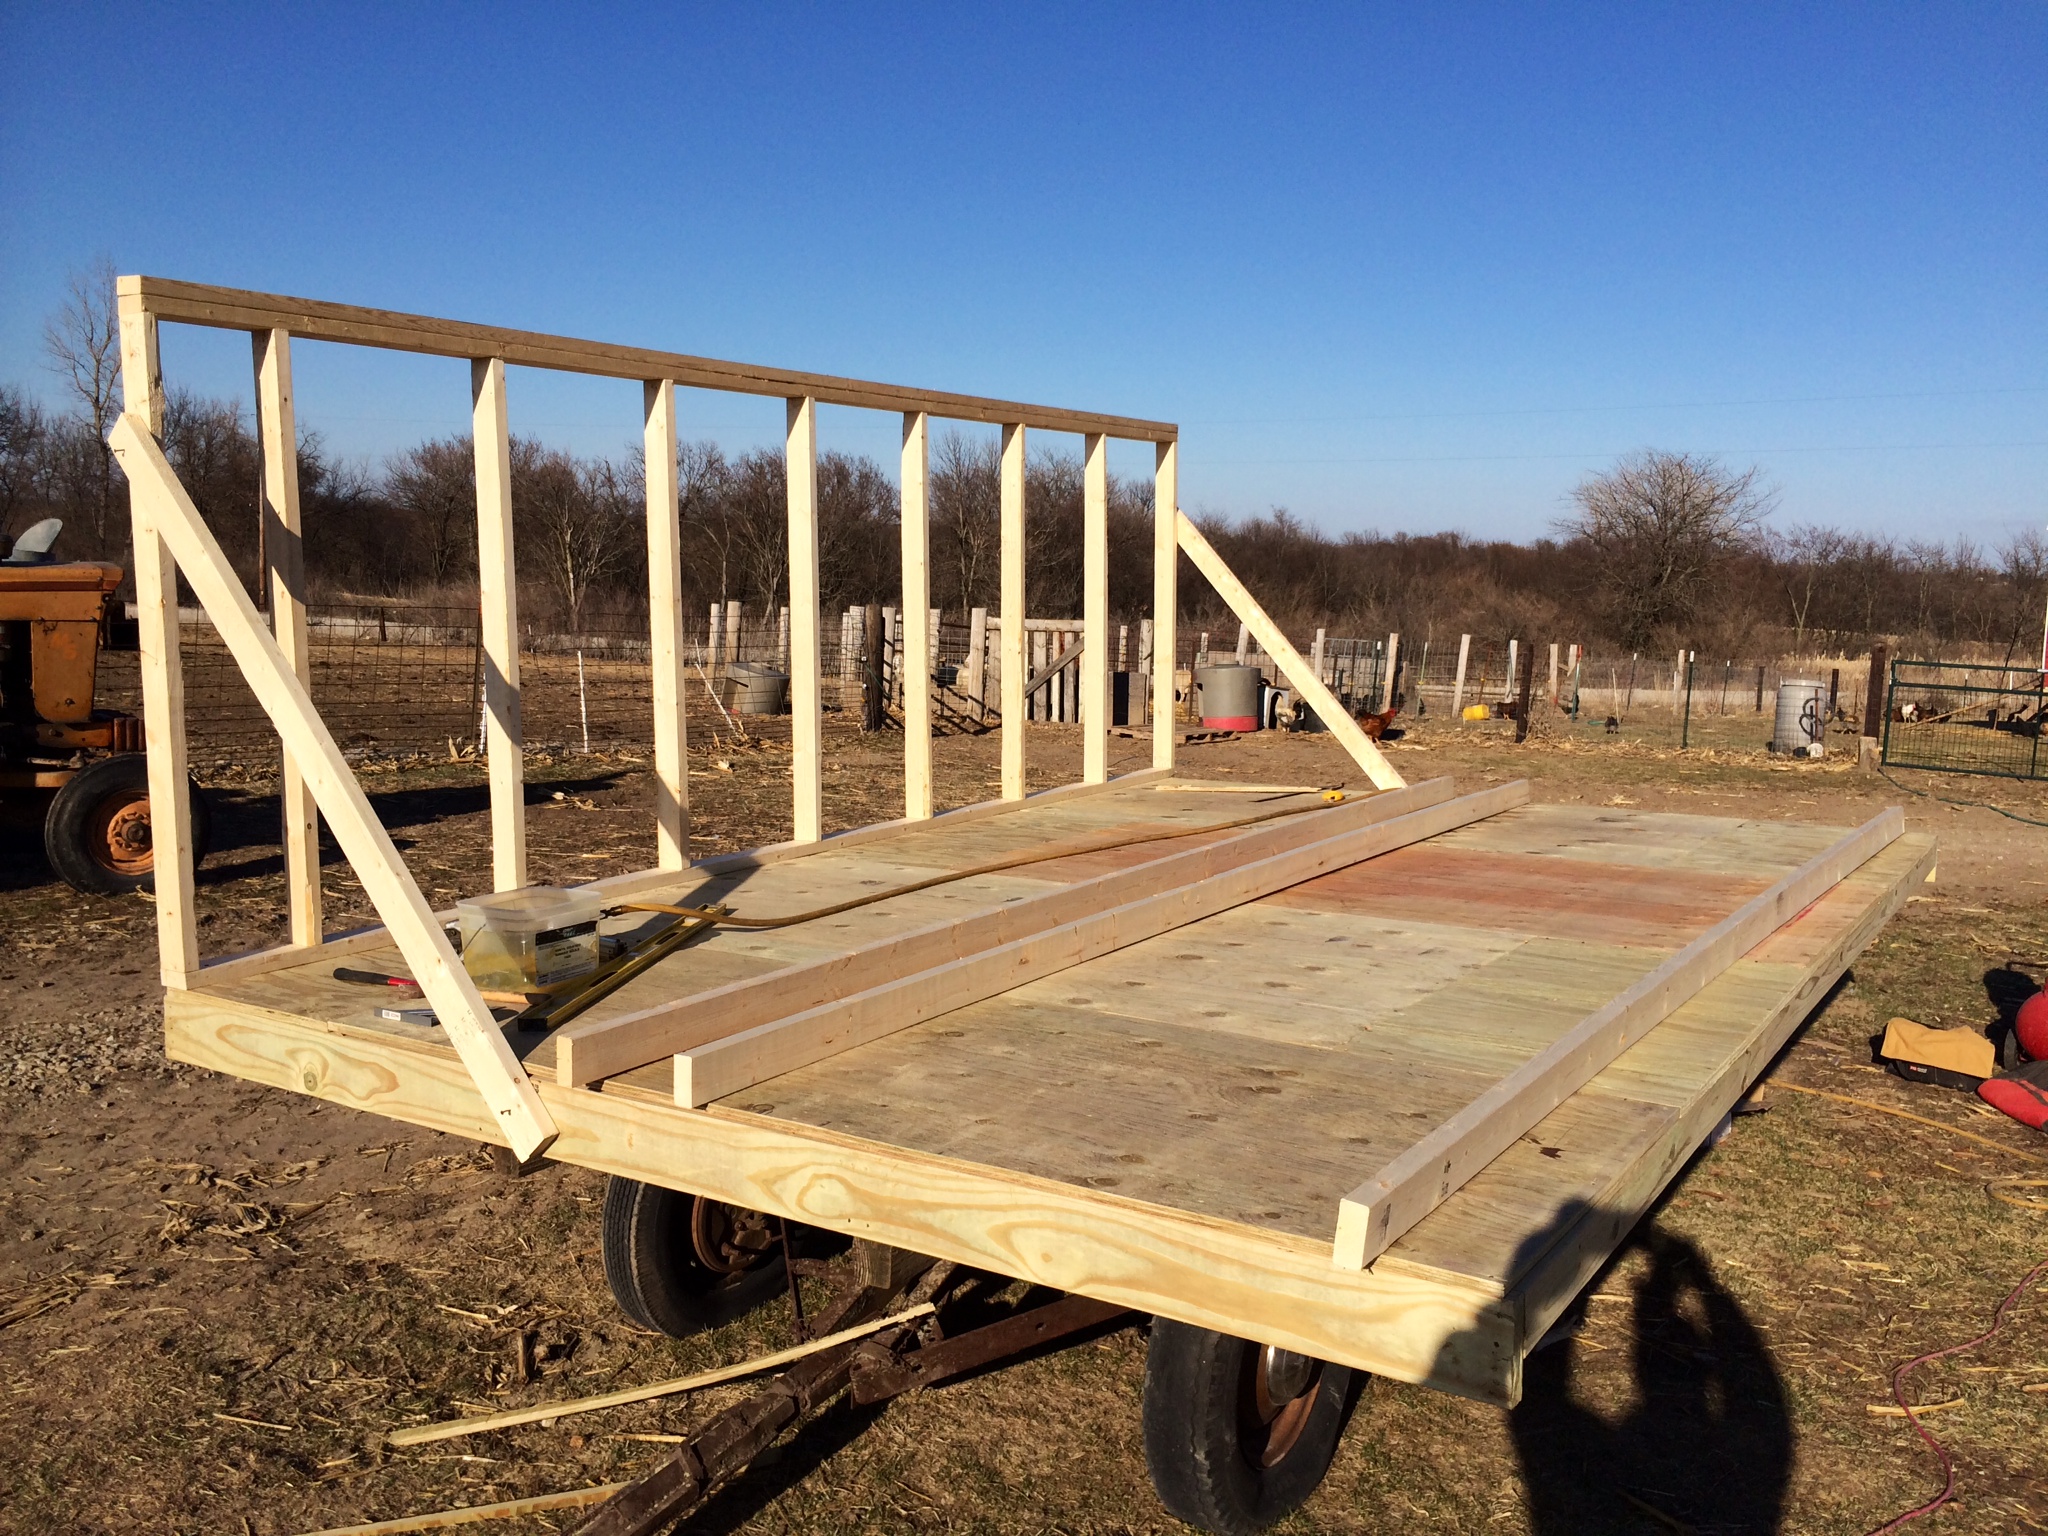
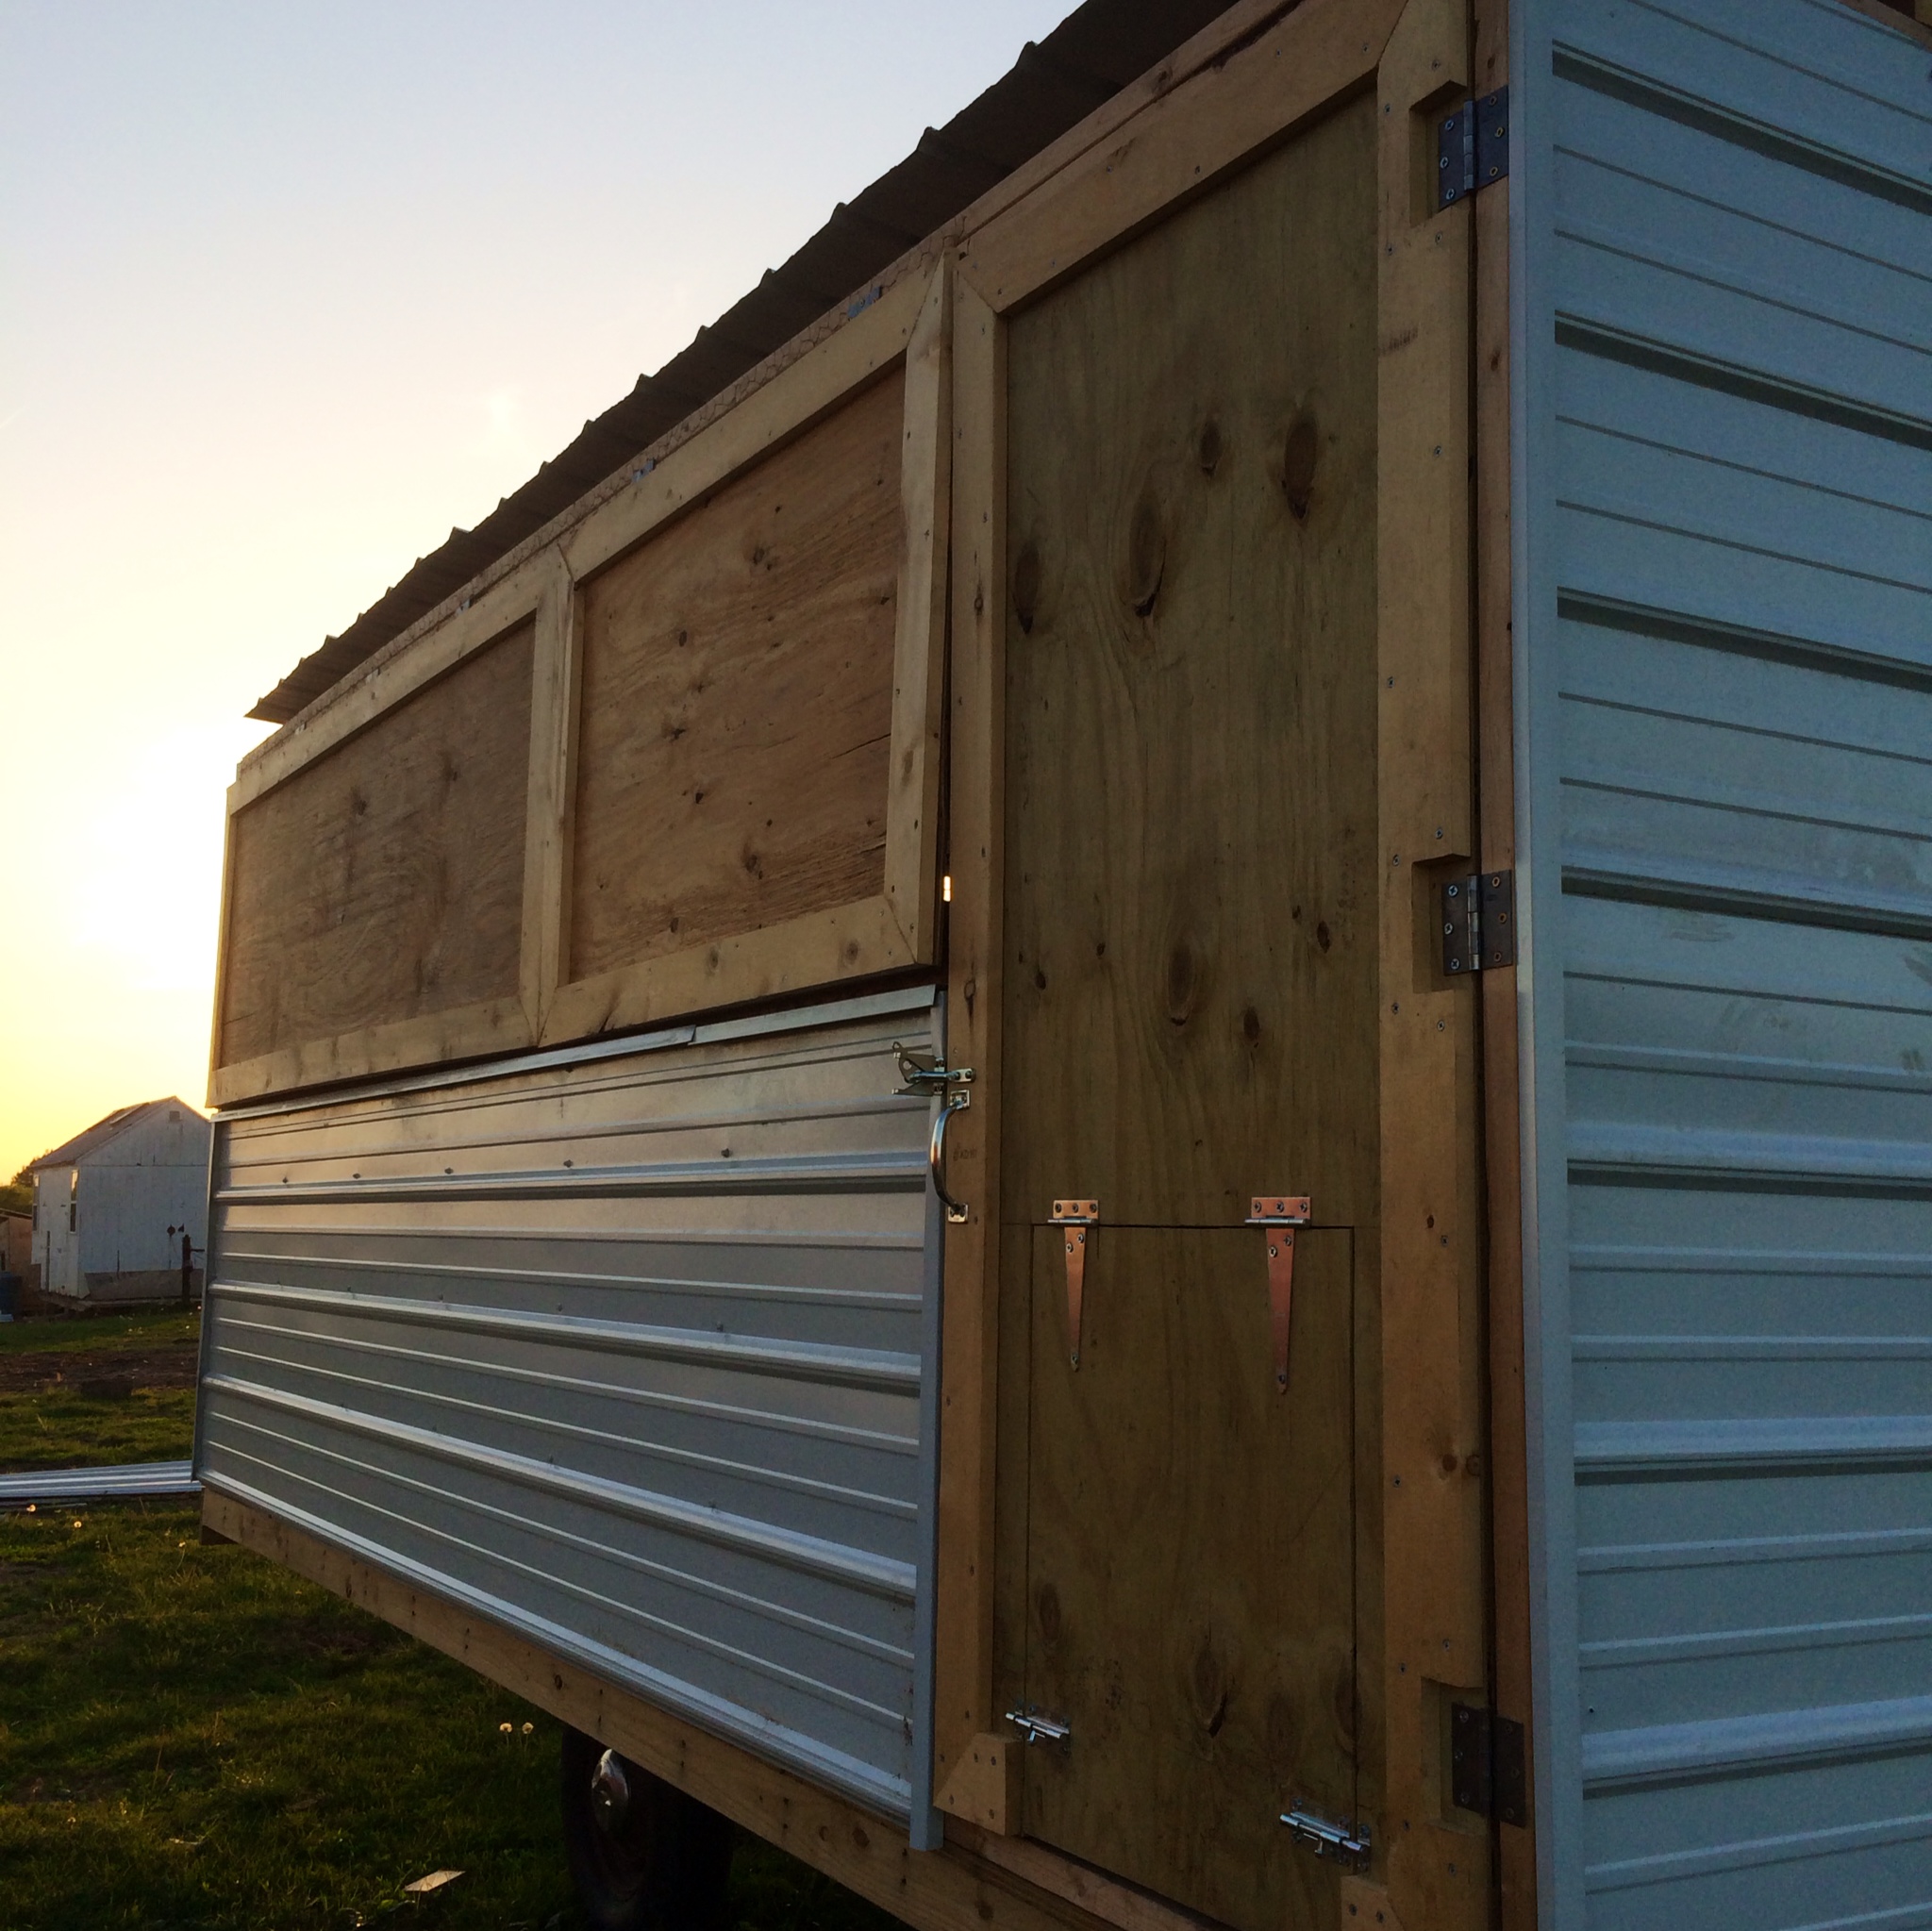
The walls were built with studs 2' on center. I actually attached my steel horizontal instead of vertical like it normally would be so I had less cutting to do.align="aligncenter" width="300"]
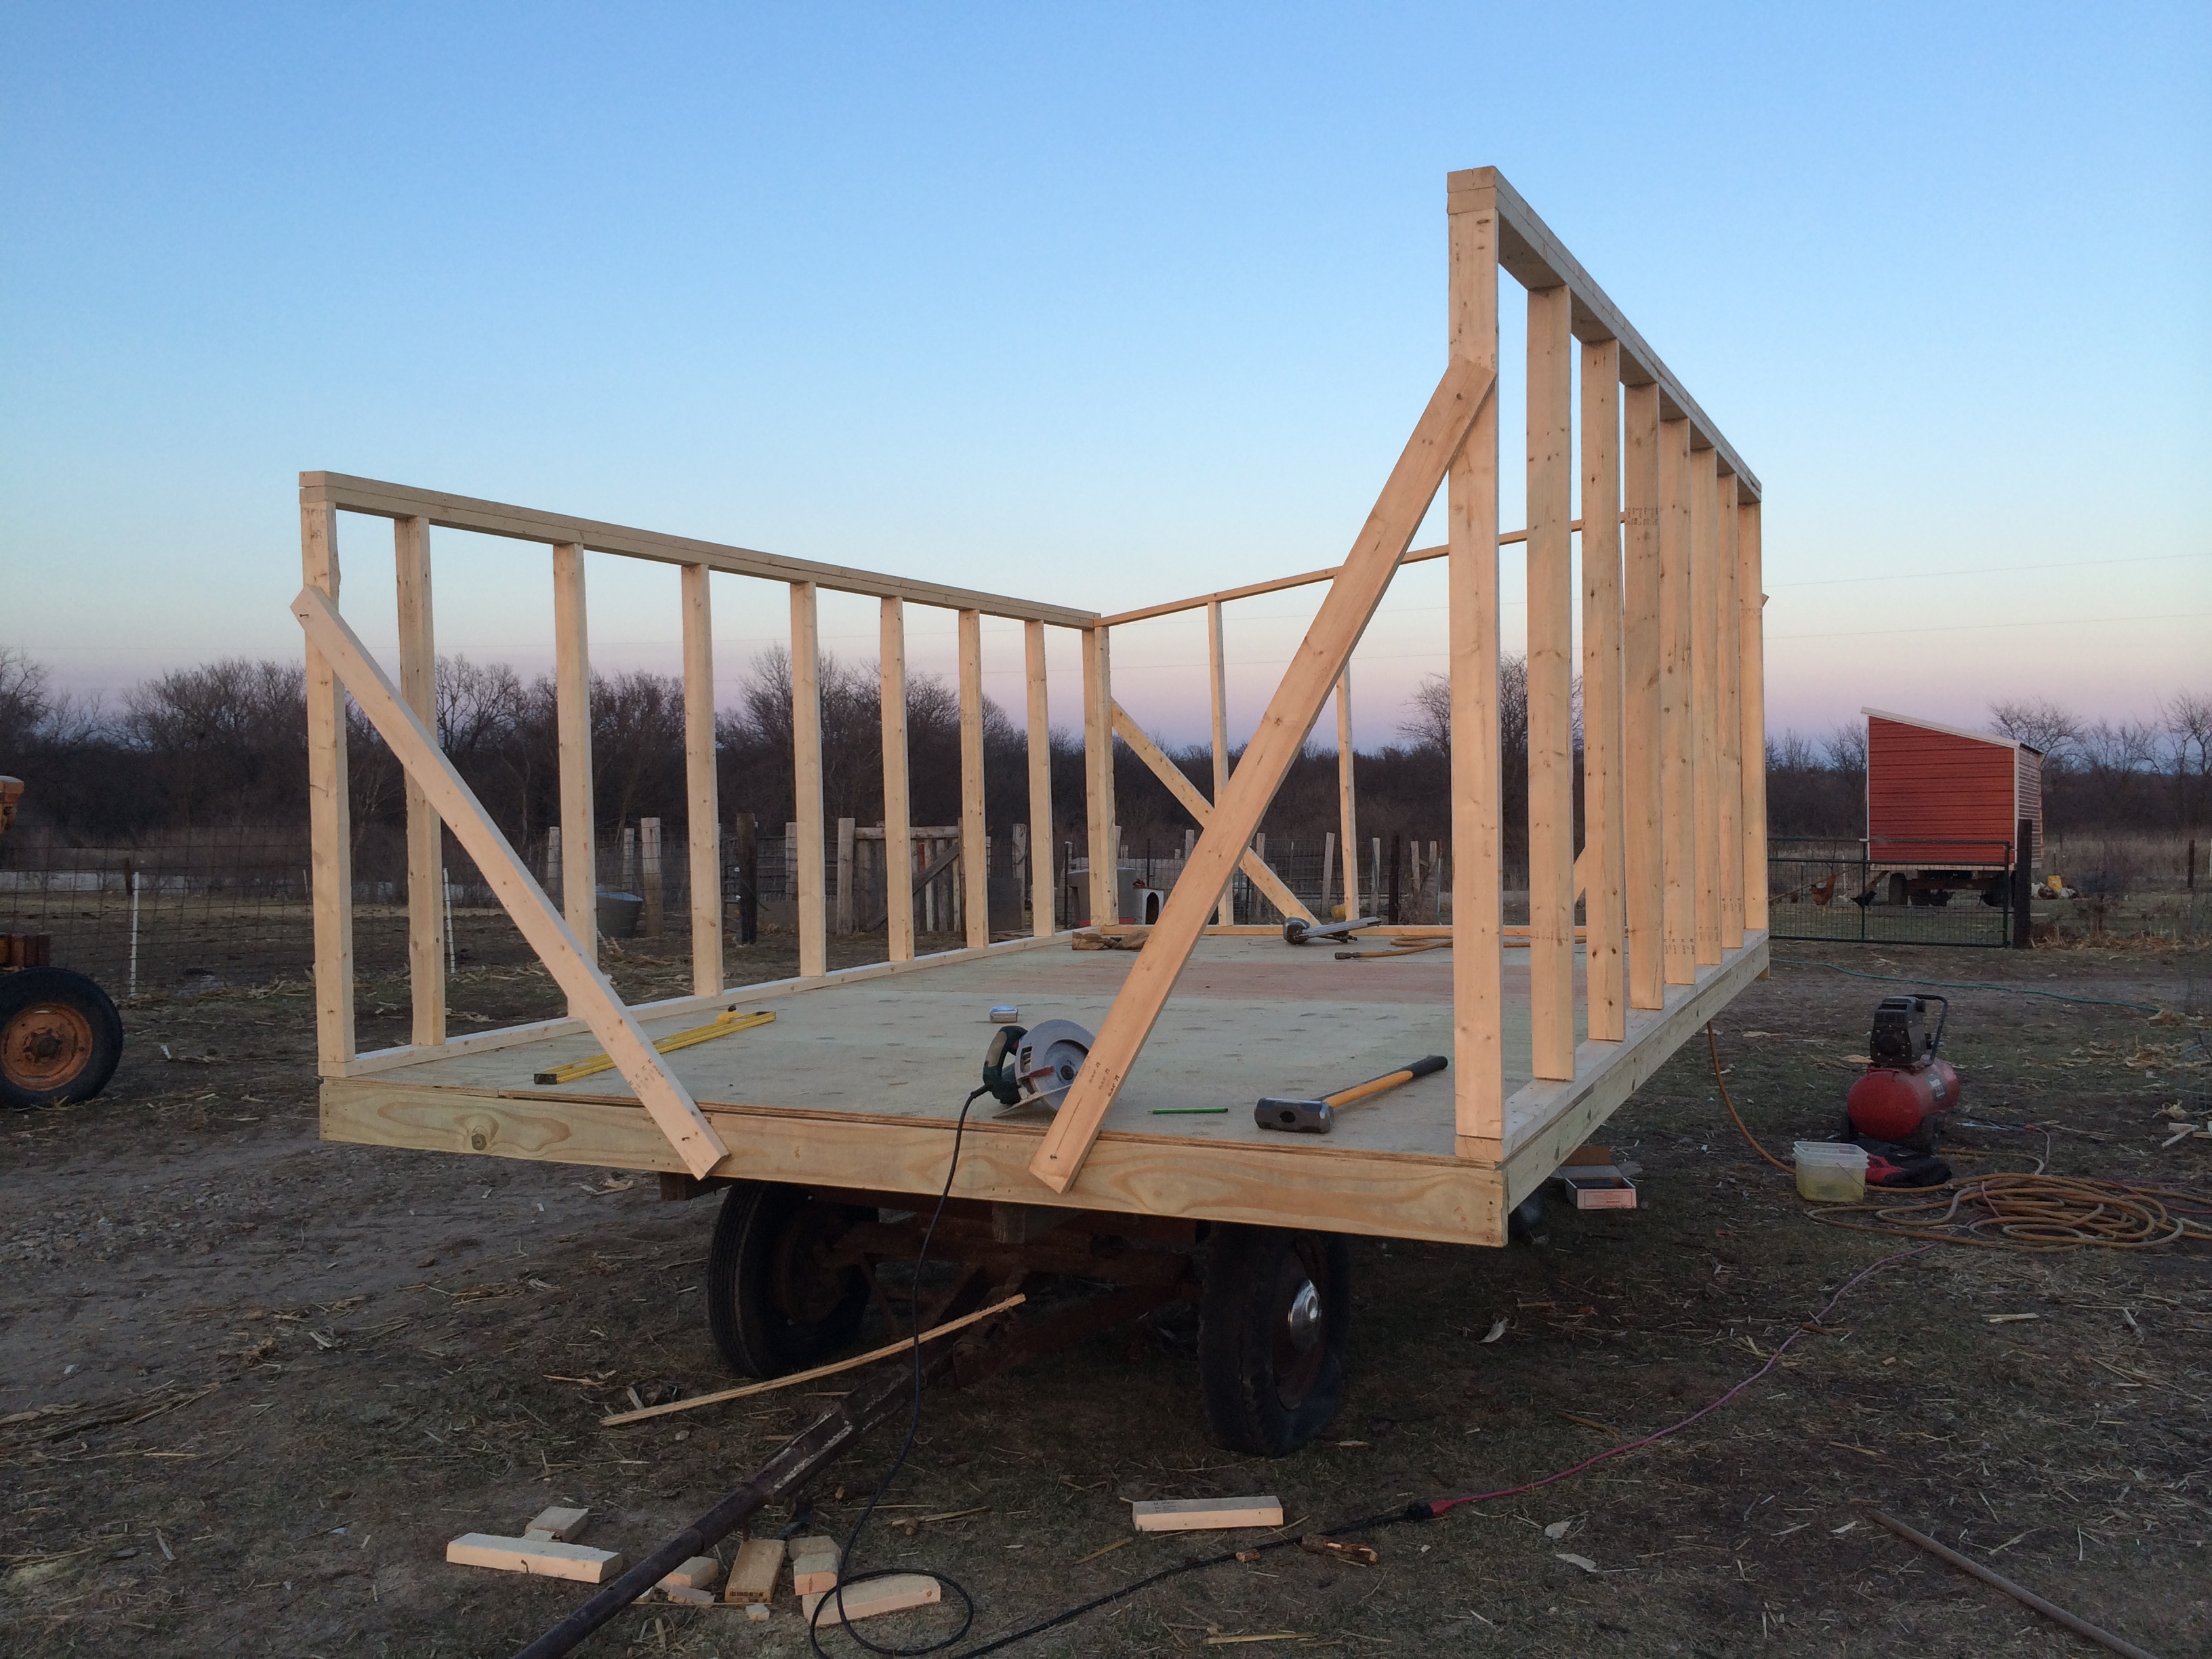
One of the best things about this wagon was that I borrowed an air nailer from a friend. That made the framing process much faster!

An important thing to work on as you are framing the building is trying to keep everything square. That doesn't happen often on my farm, but that's why I always say "it's good enough for who it's for."
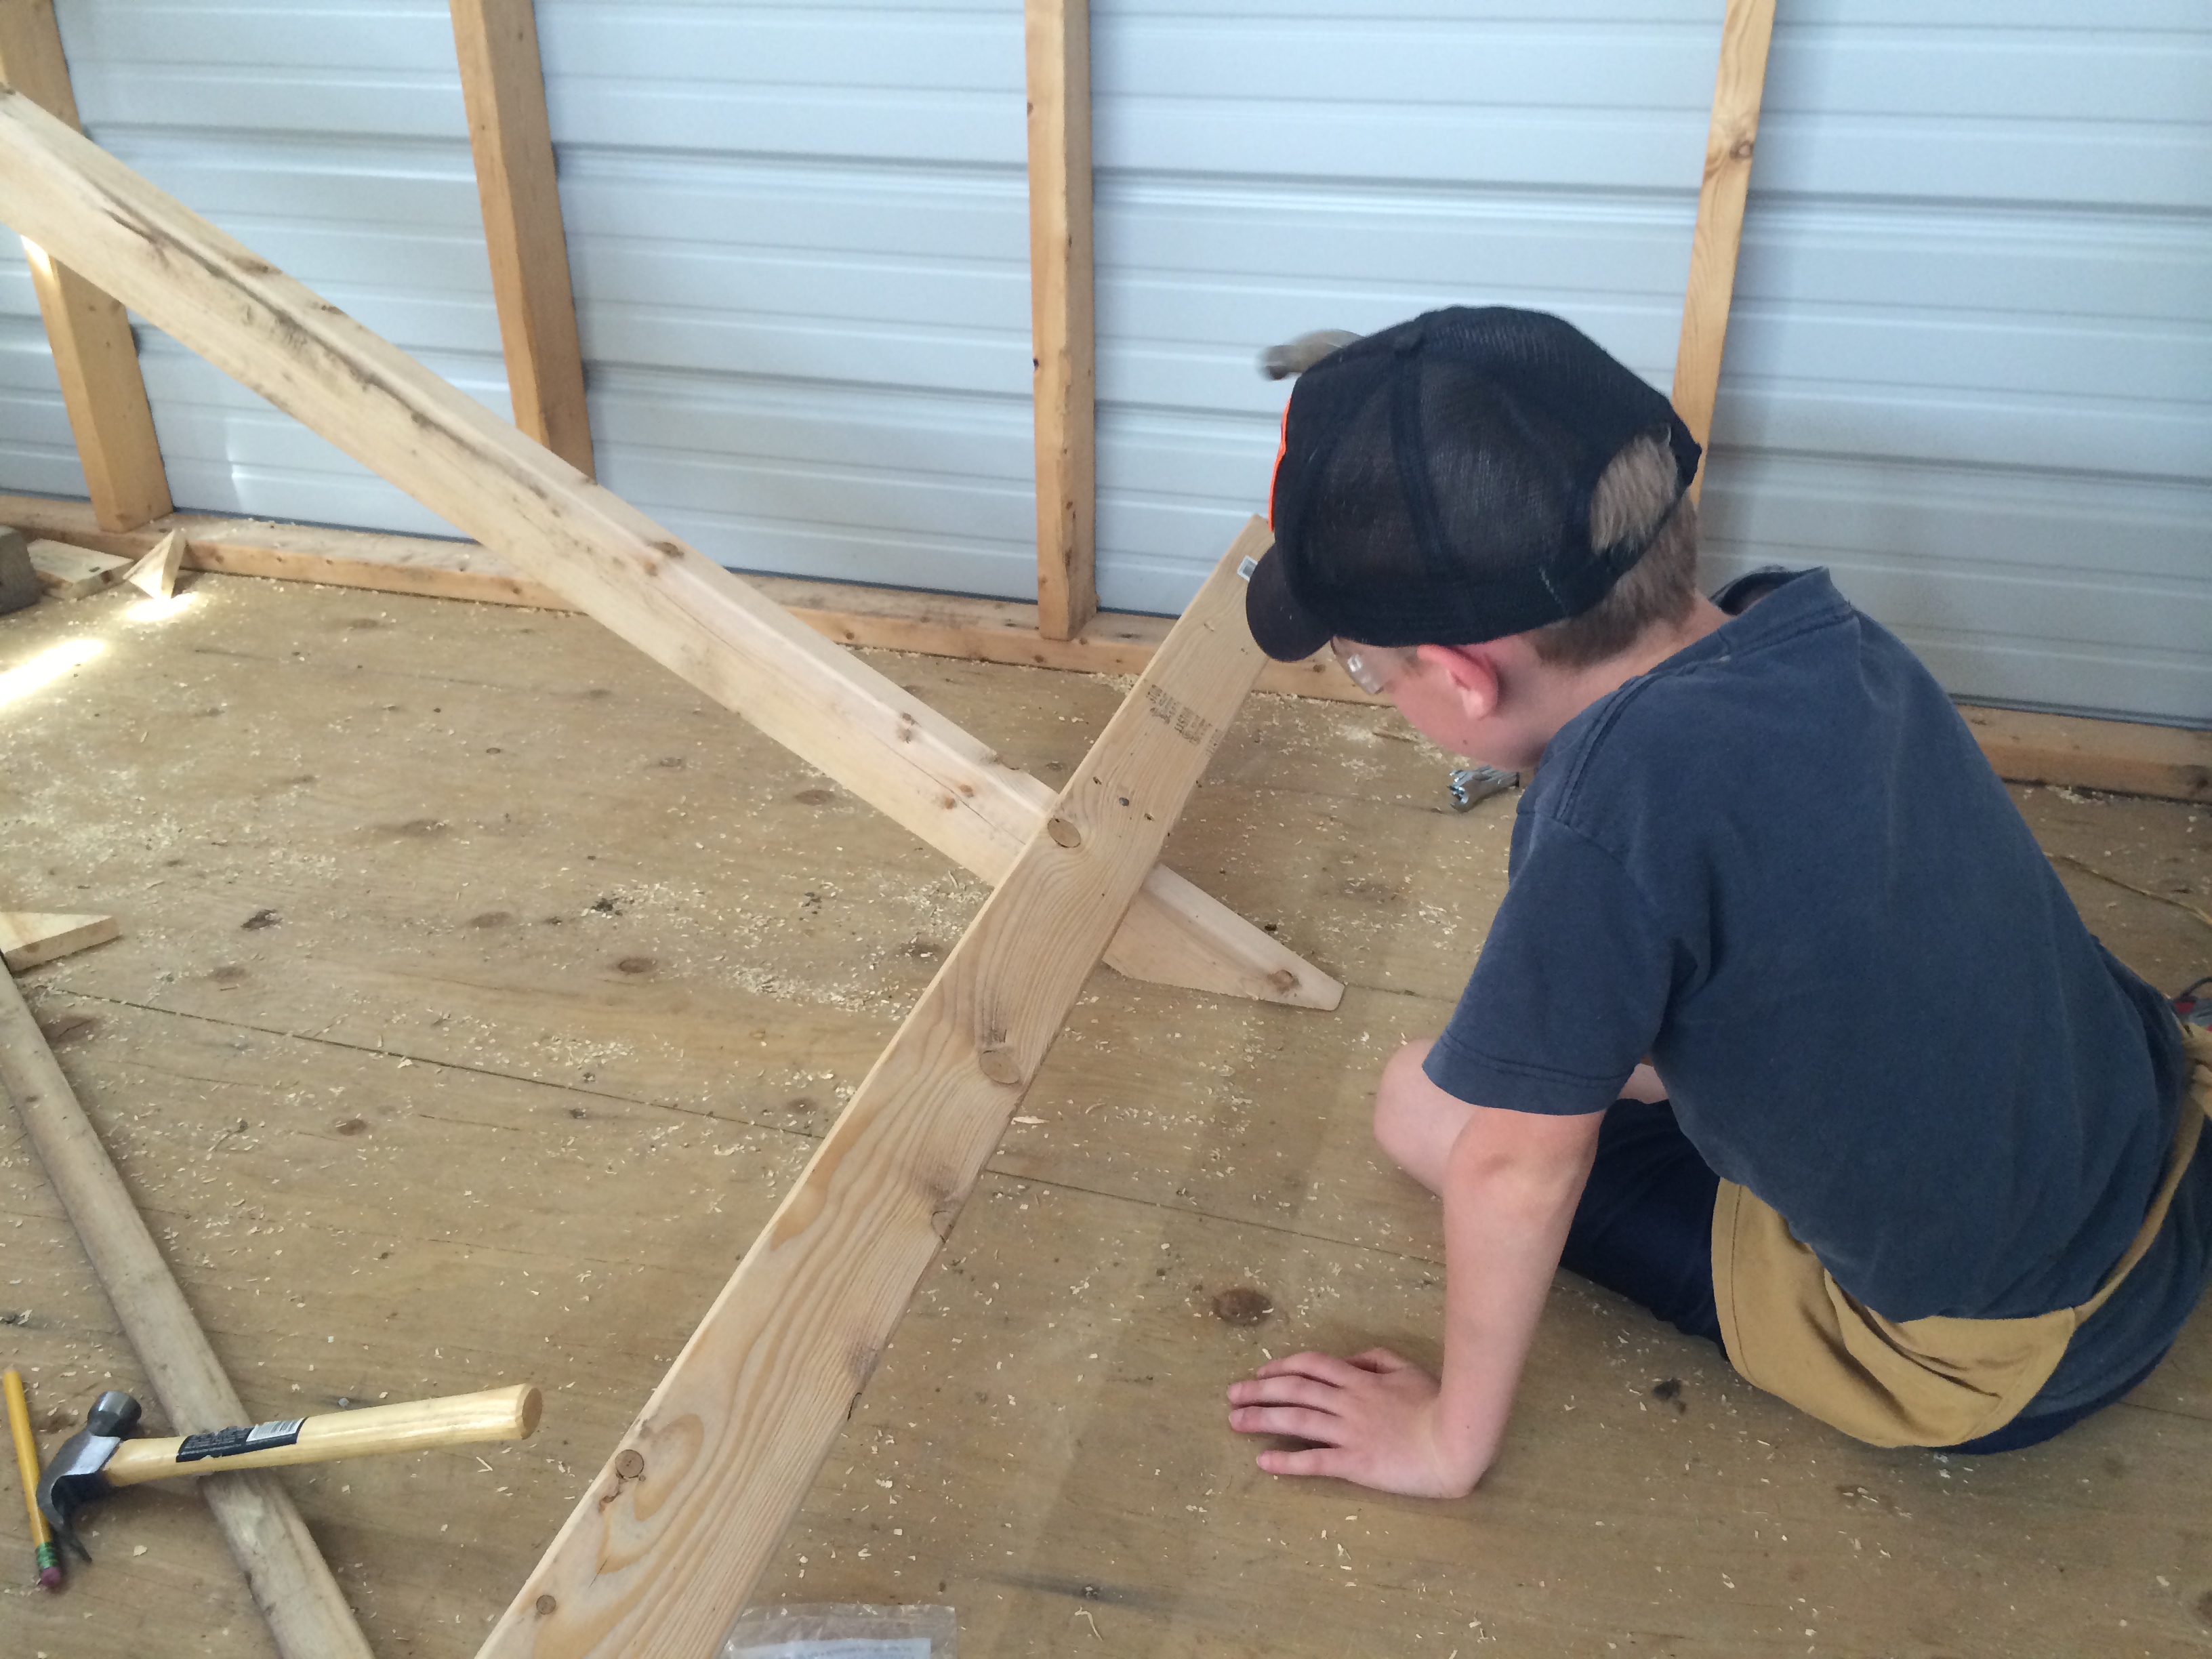
Here my son is working on the frame of our hinged roost, this will be great for when he needs to clean it out ;)
As always, I want to thank you so much for listening and supporting the show with your encouragement and reviews on iTunes! I am continually working to produce a better show, and I'm thankful for all of the listeners sticking with me as I learn.
If you do enjoy the show, don't forget that you can subscribe on iTunes and leave a five star rating and review (by clicking the link). If you are an Android phone user you can also subscribe on the free Stitcher App. It is so very encouraging to know that people are listening and enjoying the show!
If you do enjoy the show, don't forget that you can subscribe on iTunes and leave a five star rating and review (by clicking the link). If you are an Android phone user you can also subscribe on the free Stitcher App. It is so very encouraging to know that people are listening and enjoying the show!
I would love to hear your questions, show ideas, or comments about the show. Feel free to shoot me an e-mail! As always you can follow along with "The Beginning Farmer" and Crooked Gap Farm by checking out these links ...

No comments:
Post a Comment